Showing posts with label Sewing. Show all posts

Saturday, October 5, 2013

Bento Bag


I really love these linen bento bags. They're great for farmers markets and lunches. I also really enjoy the challenge of looking at something and determining the construction. I could tell these were simple in that lovely origami and inside out kind of way that sewing often is — but it took a bit more experimenting and researching to figure this out.


As far as I can tell, there isn't a really good tutorial (I found a couple confusing and incomplete ones) online for making these. I'm happy then to get this out there! All the steps, photos and diagrams after the jump.

Saturday, September 28, 2013

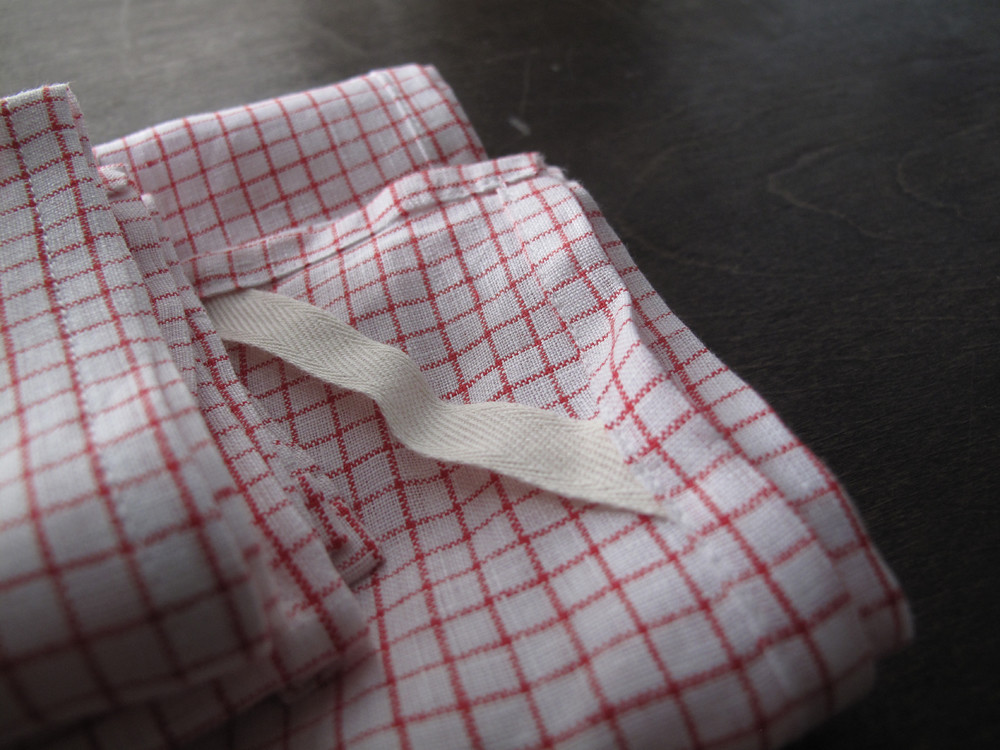
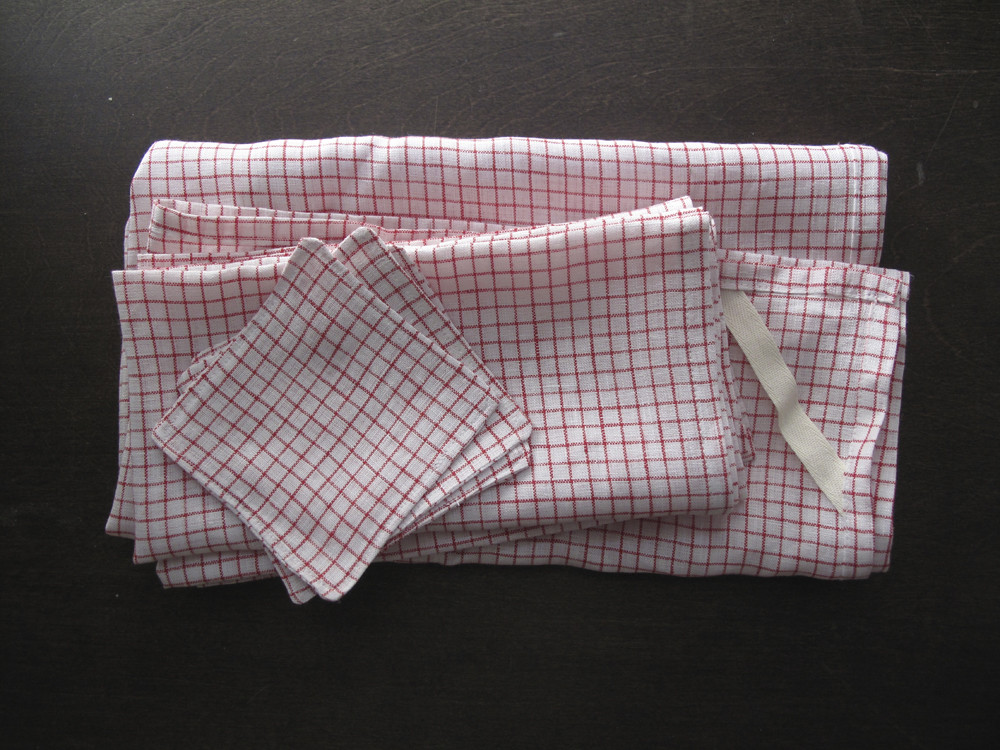
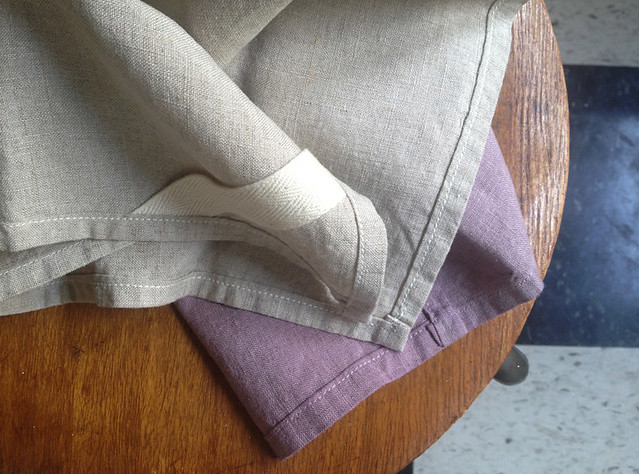
More Coasters, Napkins and Towels

This is the next post in the series of when I sewed for two days mostly just for the sake of sewing.

Because I can never seem to have enough, I made dinner napkins and a kitchen tea towel again. The links will take you to the tutorials I've done here for those.

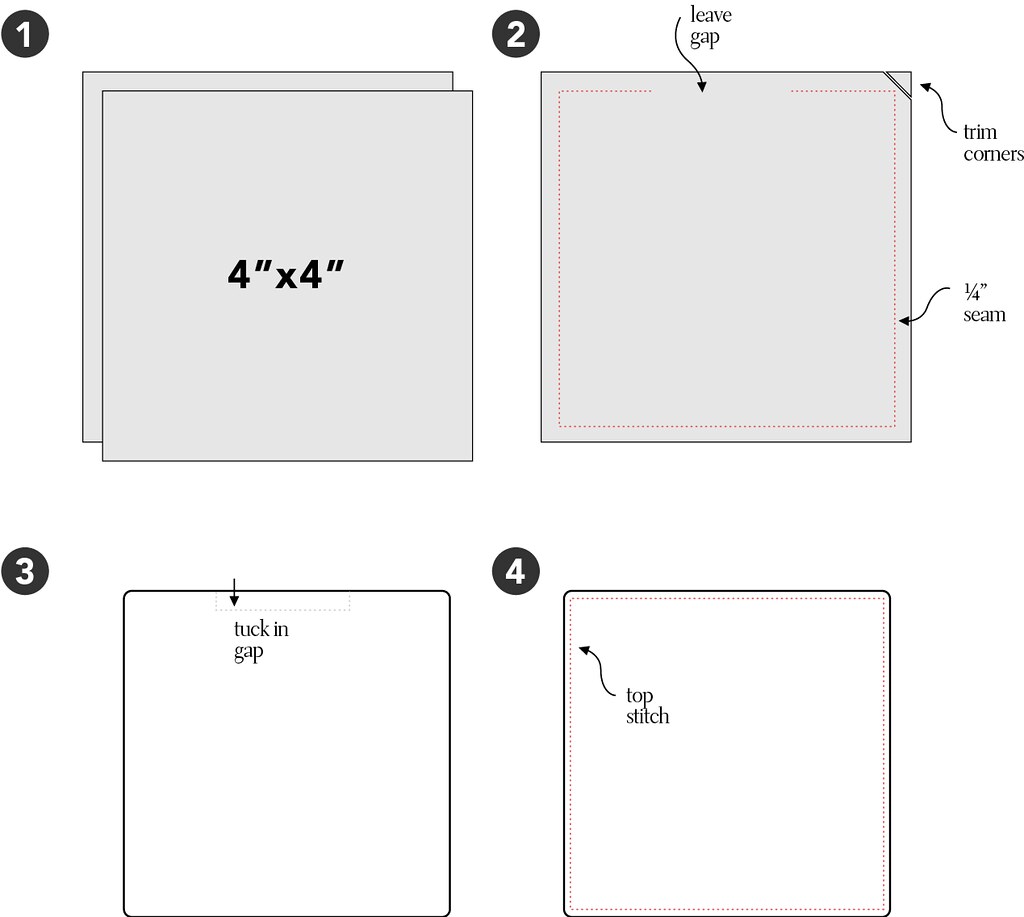
I love everything from Fog Linen and they've got these simple linen coasters I've been wanting to make for a while. Here's how:


  1. Cut two pieces of 4" x 4" fabric.
  2. With right sides together, pin and stitch around most of the perimeter (1/4" from the raw edge), leaving a gap of about an inch and a half. Trim the corners off.
  3. Turn the piece right side out, tuck in the seam from the gap and press with an iron.
  4. Top stitch around the piece close to the edge.
Voila! 

Saturday, August 3, 2013

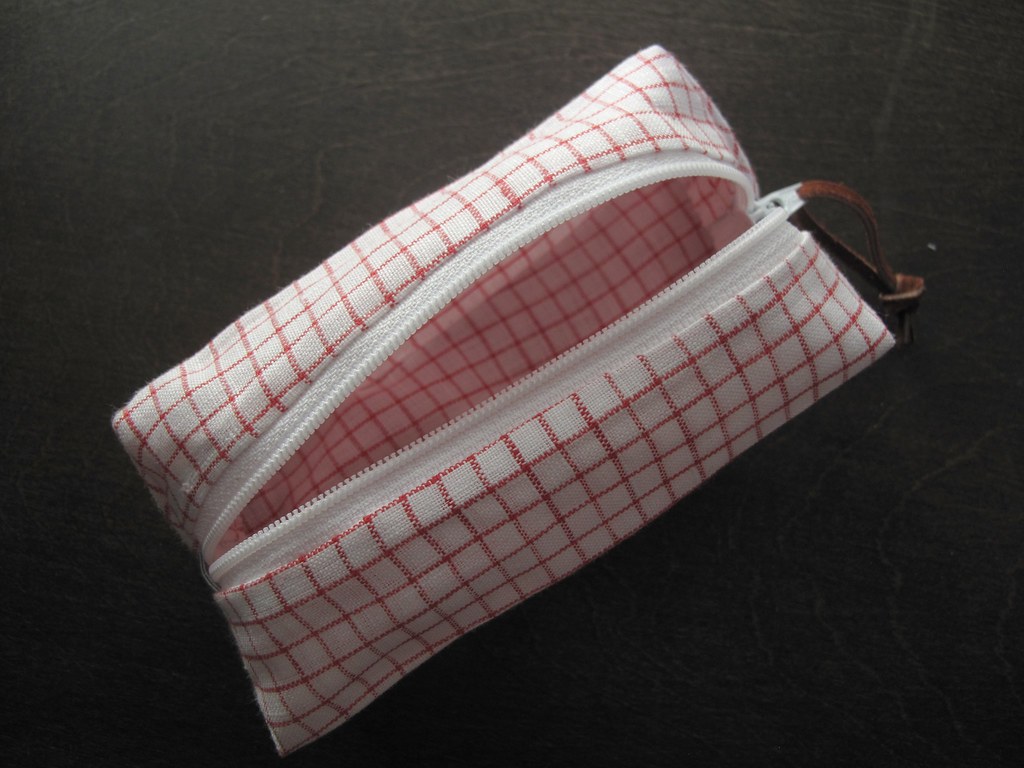
Small Pouch, Pencil Case


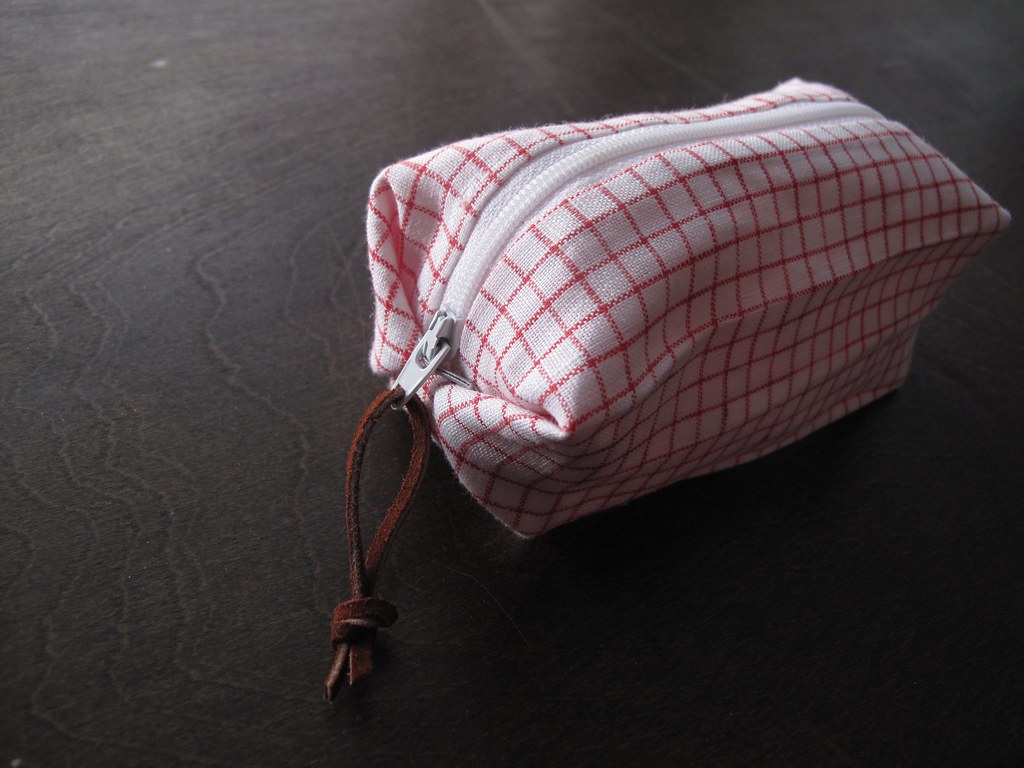
I could have sworn that a while (as in years) ago I posted on making little zipper cube pouches. I thought this was about to be a sister post, for a rectangular pouch, but I see no trace of this other post. This, then, is long over due! I recently bought a yard of fantastic red and white linen and then went to town sewing up my favorite quick projects and using it all up in a day and a half. It was so great to spend that much time sewing. I love these pouches. They take very little material and make great gifts, too.


Instructions after the jump!

Tuesday, January 22, 2013

Naturally Dyed Tea Towels

For Christmas I made a small batch of tea towels to give to friends and family. And since I'd had in my mind for a while to experiment with dying, I decided to experiment on friends and family.

After the jump you'll find the basic steps for creating a tea towel and what I did to create a gradient on the towels from blueberries and blackberries.


Monday, November 19, 2012

Tote Re-Do


I once had a great, large tote. I used it often. After a while grime and grease from toting leftovers rendered the tote too gross to use (despite attempts to launder of course). I finally parted with the bag but I saved the hardware (handles, shoulder strap, d-rings) with the intention of re-creating it. A year or so later and 2 days before leaving for a trip to Argentina I decided, now is the time!

After the jump, illustrations and walk-through galore!


Thursday, April 26, 2012

Anatomy of a Try


I thought since I took the time to make this, I might as well try and get a post out of it.

This is a clutch I made hoping to adjust this one (Which is missing! Where is it? It ran off with at least one cute hankie and one vintage pocket mirror. Sad.) a tad so that it served more as a wallet. It was not a disaster by any means, but it wasn't quite what I wanted:

  1. I forgot to add the ends to the zipper. This isn't critical, many pouches don't include them, but I really, really like them. I more often than not do one completely wrong thing in any project. Usually I catch myself while a seam ripper can still save me. Not this time.
  2. I thought I'd like it with more of the zipper tape exposed. I do not. I also did this weird thing with gold thread at the end as a zipper stop. I wouldn't have tried this if I hadn't done number 1.
  3. I created a divider on the inside, hoping to separate bills from coins and phone. I'm so-so about it. I also intended to have 3 card slots, stacked and side-by-side, 6 in total. I assumed my 7" zipper was long enough for that, it wasn't. (Three isn't so bad actually, I should carry fewer cards.) 
  4. It's about 2 inches too tall. This makes it dark inside and hard to read the bills and spot quarters from nickels. Maybe if it were shorter I wouldn't mind the divider as much.


I still really love this gold linen though. And there you have it. Not a disaster. Not a success. A try.


Saturday, February 18, 2012

Altering Jeans: Original Hem


Having a few alterations you can do yourself is a pretty valuable asset. Even having fake alteration assets is great, like how I take in sides, along the entire length, of a pair of pants or a skirt; I'm mostly guessing but it usually turns out good enough. But being able to properly take in a hem, is on the top of the altering-assets list. In this post I talked about taking in the hem of skirts with a blind stitch, and today taking in jeans using the original hem. There is such a difference in using the original hem versus creating a new hem on your own -- you're never going to get your new hem to look like the manufactured hem and, I think, that's quiet distracting and you might as well walk around in pants too-long. Plus, it's so easy to use the original. Tutorial after the jump!

Monday, January 16, 2012

Quick Drawstring Bags


I've posted on a few kinds of drawstring bags already (here and here), could there be more? Of course. These are about as quick and dirty as it gets. It's also a good way to use up extra fabric (that you buy and buy without a project in mind and then you end up moving it across the country and promising yourself to find ways to use it and store other things, like air, under your bed). Instructions after the jump!


Wednesday, January 4, 2012

Otomi-Inspired Appliqué Pillow


I think a lot of us have a contrarian streak - a tendency to resist things that are popular, and especially things that cross the line from popular into ubiquitous.

One night in December, Allen and I were driving to a barbecue place for dinner, and we passed a lot of houses decorated with white Christmas lights, and a few with colored Christmas lights, but only a couple with icicle lights - the ones that were so rampant for the last ten years or so. Not the molded plastic ones that are actually shaped like icicles, but the light strings that have smaller little strings hanging off of them.

I said to Allen, "Do you think, now that those icicle lights aren't so popular anymore, they're okay for us to start using?"

Allen was shocked. "You like those?" he said, indignant.

"Yeah, I really like them! But everybody uses them, so we've never used them."

"No," said Allen. "We don't use them because they don't look like real icicles."

"What?"

"Yeah, nobody uses them right. People hang them where real icicles would never be - like on the back sides of beams. That doesn't make any sense."

"Allen, of course it doesn't make any sense. They're not real icicles. Even if you 'use them right,' nobody is going to look at them and say, 'Wow - somebody waited for a snowy day, hosed down their porch roof, got those those beautiful icicles to form, and then somehow lit them from the back.'"

"You're twisting my words."

So I understand perfectly a natural aversion to trends. Otomi embroidery has been all over the internet for a few years, but I still love it so. I have loved it since my grandparents had some in their "Mexico room" when I was a little girl.

The animals, y'all! They are such great animals. Actually, if I have any disappointment about the way my pillow turned out (other than the time it took, which was more than I expected), it's that the animals aren't as crazy-whimsical as the weird, fantastical creatures that populate real Otomi embroidery.

Wednesday, December 28, 2011

Draft Dodger


Guys, I sewed something! I am happy to contribute my first project post in many months. I'm also happy to be settling in here in San Francisco and to have my sewing machine not in a box.

This project was born of necessity - my new room's windows are drafty and it gets pretty chilly here in SF. As soon as I could, I made two of these. This is a simple project; if you've got a drafty door or window there's no excuse not to whip one up yourself. The part that takes the most time is picking up the rice from the store. Instructions after the jump.

Also, New Years is upon us! Don't forget your lucky greens and black-eyed peas.

Tuesday, November 1, 2011

Lit à la Polonaise


Allen and I have been out of town for a couple of weeks, and I've had this post prepared since before we left. Unfortunately, I'm missing the picture that Jessica has requested - one of Huey (our dog) reclined on the bed and wearing an old-fashioned sleeping cap - but I will do everything in my power to bring this important item to fruition soon.

Please don't hold me to the correct terminology here. There are several types of ciels de lit - which themselves are a type of bed canopy - including lits à la duchesse, and lits à la polonaise - or "Polish beds." All I know is I'm a sucker for ridiculous drama, and two-thirds of the bedrooms that I've ripped out of House Beautiful feature canopies (like these from Eddie Ross, with whom - like Dolly Parton - I'm convinced I could be best friends if we ever met). Since our guest room has recently taken on a cool, calm, less schizophrenic personality, I thought I'd rig one up in there.

It's actually pretty easy. Here's what you need:

Sunday, August 14, 2011

Skirted Tablecloth


Our guest room just got a budget makeover. Since our roommate moved out a couple of years ago, the room has served as my sewing and craft room, a place to store a million books (unartfully arranged in a closed Ikea cabinet), and the threshold for that most abhorred of things, the pre-fab aluminum sunroom that we call the Abomination. (It is referred to as such so often and exclusively that we can tell friends, "There are extra chairs on the Abomination," and no one blinks.) The room continues to serve all those roles - but recently with more panache. We moved out the industrial shelving and Ikea cabinet and replaced it with this bookcase from the Ballard's outlet in Atlanta, where the manager knocked off another 20% (just ask). That made this sturdy, hardwood, easy-to-assemble bookcase about the same price as a particle-board number from Ikea. I arranged our prettiest books on it by color, added a few knick-knacks with no other home, and the room was already greatly improved.


But there were other issues - none as pressing as the rusty steel industrial shelving once used (somewhere) to display Doc Martens, and then our books, and which now resides more appropriately in the garage - but issues nonetheless. We've been substituting a bedside table with a charming old pedestal table that I spray-painted glossy white - but it didn't look or feel like a bedside table.

Enter an old TV shelf of Allen's that never suited the house (but, y'know, the Doc Marten shelves totally did). This post on Erin Ever After inspired me to make a skirted, tailored tablecloth for it. Probably everybody with an attic (or an Abomination) has a sturdy, functional table or cabinet that they're just not crazy about. The TV stand was, on its own, enough to make me ponder a yard sale several times a month - I do hate having things around that we just don't use. But I'm glad I didn't pawn it off, because this tablecloth was a fairly straight-forward Saturday project that made a big difference in the room.

Sunday, July 24, 2011

Cloth Napkins II

It's like a summer sequel! I actually made cloth napkins last July, too. The first were the wide, mitered-corner, fancier kind for my friend Holly. I've needed to make some for myself for at least that long; I mostly use tea towels as my napkins. I've been fantasizing about a same-size, blue set of cloth napkins, because who hasn't? These are simpler (read: immediate gratification) (disclaimer: sewing projects are never immediate; in this instance I'm using the term loosely to mean a mere few hours) - they're really simple. In fact, I don't think I need diagrams or even a jump for this post. OK, a jump.

But before the jump, I want to let you know there is a new (well, 2010, but I've just learned about it) fabric store in Boston. This is a big deal. It's fantastic, I got two of the fabrics I used for this project there. The store is Grey's Fabric and Notions and it's on the SOWA side of the South End. Seriously, this is such great news!

Thursday, July 14, 2011

Envelope Case for Sunglasses


This fabric envelope is a total rip-off of a lovely one that Jessica made me, which I use as a wallet. Since it's not meant to be used as a wallet, and it has no billfold, coin purse, or cardholders, I'm constantly fumbling through it, dropping credit cards, tearing dollar bills, and exclaiming to cashiers about all the Sacagawea dollars I just found in there (!). And I still love it, which means it was a great gift.

I sized this up and elongated it so that it fit my old plastic sunglasses, which I've now broken, and it's slightly too small for the new aviators I just got on sale. (Which will soon also break.) So scale accordingly.

Wednesday, June 29, 2011

A Copied Shirtdress


If you're smart, you'll just buy a pattern and learn how to use it. I'm not smart, and I'm intimidated by stupid things - like using patterns and playing kickball (one good fly-ball to the face will do it). I may be doing a disservice by not just saying, "Get real. Learn how to use a dress pattern."

I just happened to figure out something all by myself, and that so rarely happens that now I'm telling the world about it. The instructions here will apply specifically only to this one dress, but they can probably be parlayed to a lot of simple sundresses. And since I find myself buying multiple colors of every item in my summer wardrobe (cotton being cheaper than wool), maybe it will be useful to some people who have a simple, flattering dress they love.

Enough disclaimers? Let's begin.

Sunday, June 26, 2011

Small Clutch

I made another linen, metal zipper clutch. It's a wonder I haven't made 6 more (I guess it's those other obligations I have like my day job). Just like the internet, I am obsessed with these and could have one in every size and color. This one is a small size, for just carrying the essentials out or for using as a wallet, which is how I'm using it now. The construction is exactly the same as the larger version I posted about here, but you'll start with different dimensions. After the jump, I've got plenty more pictures to detail the process.

Thursday, May 5, 2011

fold-over clutch, metal zipper

I'm hot for fold-over clutches. I love Clare Vivier's gorgeous leather ones (aside: what I wouldn't I do for a stack of leather and a belt driven Juki?) and I'm spying them all over the (interwebs) place. I have a personal policy of not spending more than $50 on a bag. I ruin them. Elizabeth, on the other hand, is my role model. She will invest wisely in a purse that she uses, sometimes for years, and it always stays lovely. Me? I'm throwing it on my back, attaching straps where none are meant to be, I'm throwing it in my bike box, it sits in corners of bars at concerts... I also (have you seen this site?) like to make something myself, if I think I can. So, with some lovely navy linen and a lining of tan waterproof nylon for structure I made myself a fold-over clutch. Full tutorial and thrilling illustrations after the jump!


Wednesday, April 20, 2011

trial-by-error altering

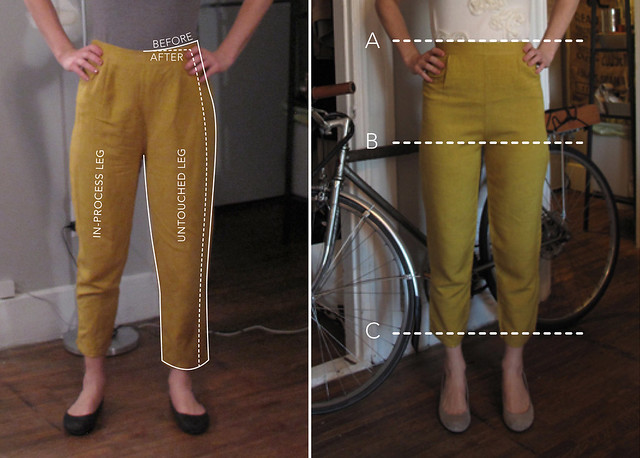
Sewing clothes, albeit with a pattern, is actually how I learned to sew many, many years ago. There are many, many halter tops back home (Kathleen, Georgia - holla) that I made from my mother's fabric and patterns from the seventies. But I digress. My point is, I still have not dared to really dig into apparel, save for taking in lengths or making the simplest of tubes. Obviously, I should try and alter some pants. I can't say I know what I'm talking about - I know how to hem and how to stitch but nothing of tailoring to the curves of a body (ooOo). I just know what I did and here I'll tell you. I do very much love my fitted, goldenrod, Betty Draper pants.

What these lines mean, after the jump!

Wednesday, April 13, 2011

pin-up shades


"Pin-up" shades are the best way I can think to describe these, although they're really hook-and-eye shades.

We live in a little house, and most of the interior real estate is occupied by furniture, projects, or a dog who is everywhere at all times, so drapes just don't work for us. I've made these simple shades for years, since they neither add nor subtract anything from a room; they fit right inside the window frame - neutral, minimal, low-key.

But lately my tastes have veered towards those of a well-appointed pensioner, and ... now I'm on toile.

Friday, April 1, 2011

Open-end Pillowcases


Sometimes I get a little bit stressed about how much fabric I have. I still have a lot of fabric from the time I went to town here. And since an ample assortment of linens is something I envy, why not use up some of this fabric and give myself a few more inches in my linen stack? (That worked for me.) These are easy - probably a little easier than these pillow cases I did earlier - but both are great beginners projects. Details after the jump.