Bird Mobile Etching Glass Applique Pillow Home

Saturday, October 5, 2013

Bento Bag


I really love these linen bento bags. They're great for farmers markets and lunches. I also really enjoy the challenge of looking at something and determining the construction. I could tell these were simple in that lovely origami and inside out kind of way that sewing often is — but it took a bit more experimenting and researching to figure this out.


As far as I can tell, there isn't a really good tutorial (I found a couple confusing and incomplete ones) online for making these. I'm happy then to get this out there! All the steps, photos and diagrams after the jump.

Saturday, September 28, 2013

More Coasters, Napkins and Towels

This is the next post in the series of when I sewed for two days mostly just for the sake of sewing.

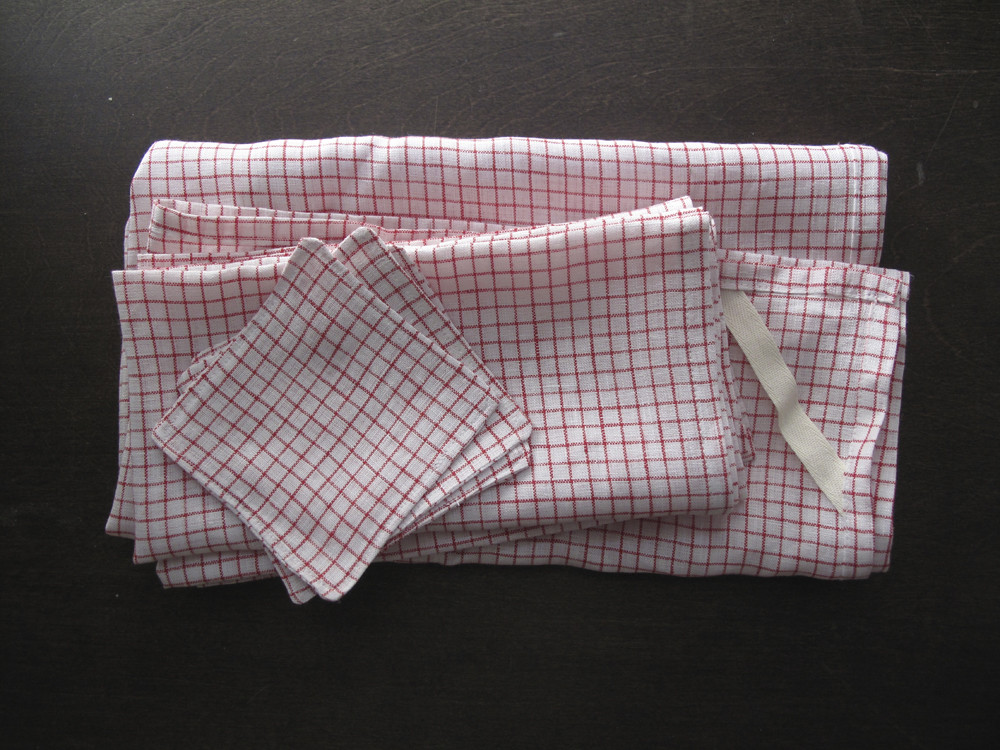
Because I can never seem to have enough, I made dinner napkins and a kitchen tea towel again. The links will take you to the tutorials I've done here for those.

I love everything from Fog Linen and they've got these simple linen coasters I've been wanting to make for a while. Here's how:


  1. Cut two pieces of 4" x 4" fabric.
  2. With right sides together, pin and stitch around most of the perimeter (1/4" from the raw edge), leaving a gap of about an inch and a half. Trim the corners off.
  3. Turn the piece right side out, tuck in the seam from the gap and press with an iron.
  4. Top stitch around the piece close to the edge.
Voila! 

Saturday, August 3, 2013

Small Pouch, Pencil Case


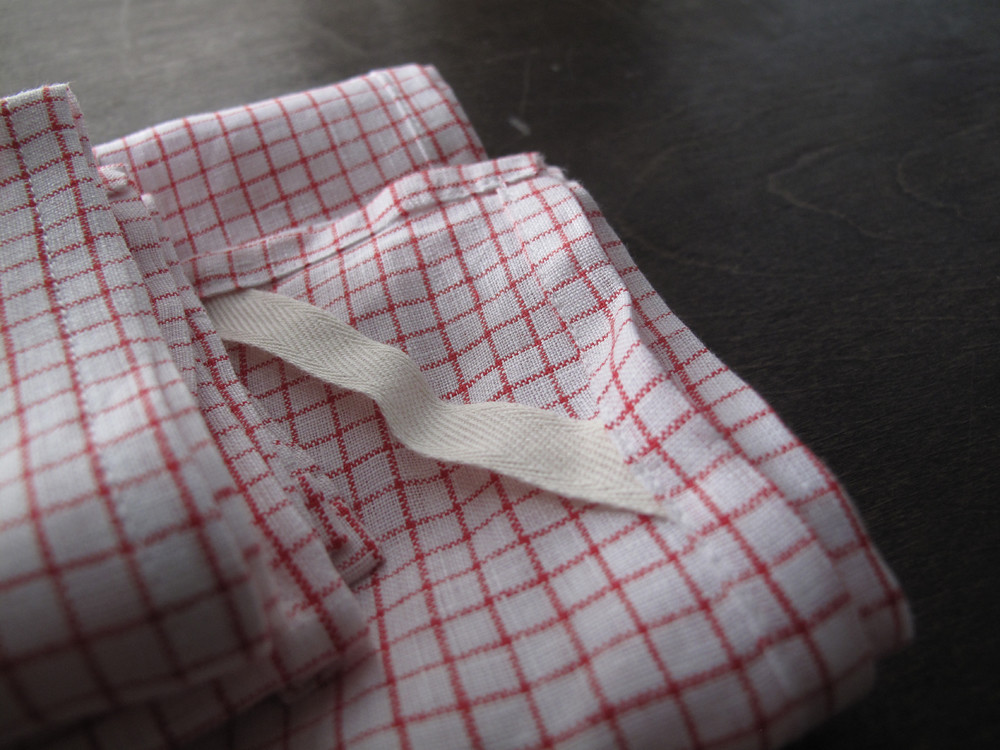
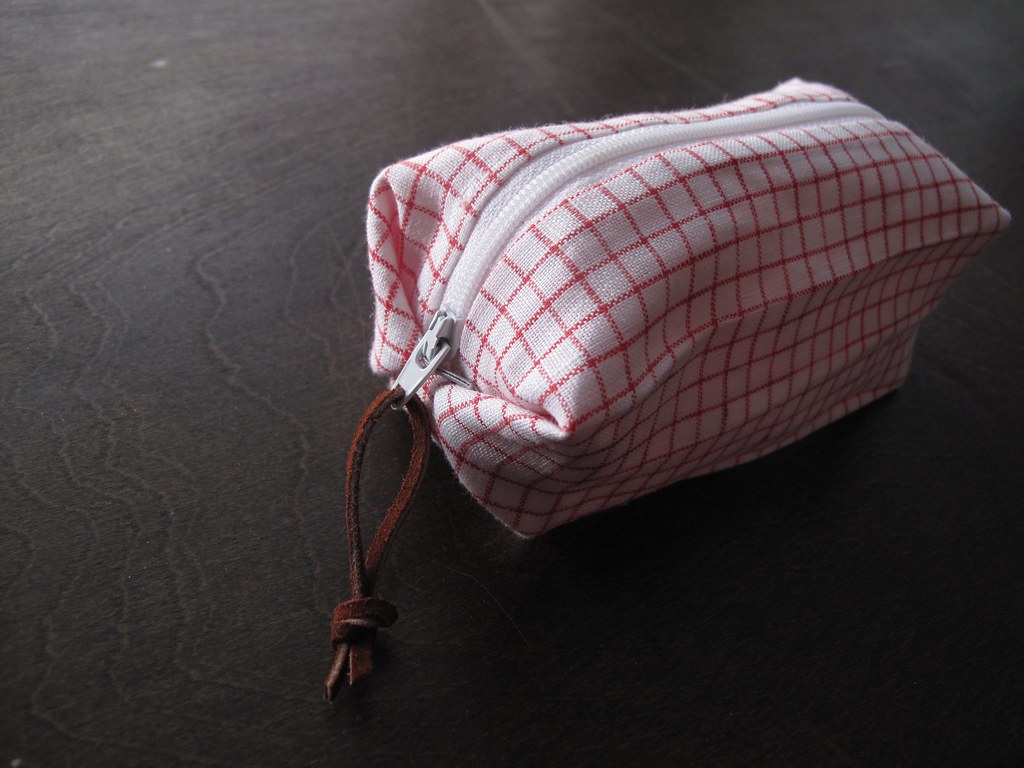
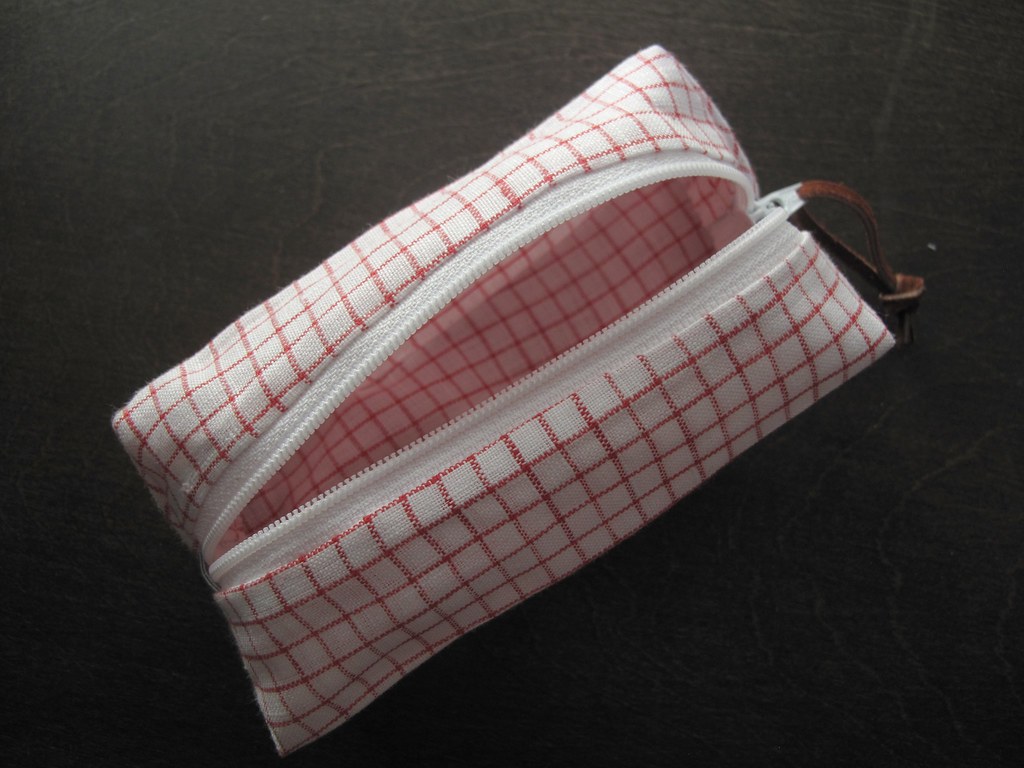
I could have sworn that a while (as in years) ago I posted on making little zipper cube pouches. I thought this was about to be a sister post, for a rectangular pouch, but I see no trace of this other post. This, then, is long over due! I recently bought a yard of fantastic red and white linen and then went to town sewing up my favorite quick projects and using it all up in a day and a half. It was so great to spend that much time sewing. I love these pouches. They take very little material and make great gifts, too.


Instructions after the jump!

Sunday, June 9, 2013

kitchen cabinet improvements and returning from the dead


Hello there to everyone who checks in every few months to find that we're still on semi-permanent hiatus! Jessica and I both have lots going on right now, and we decided a while back that regular updates are, for the moment, too much to handle. It was a strange feeling, when I baked my first cake after that conversation last summer, to realize that I didn't need to take pictures. I hushed the voice at the back of my head that said, "Explain why you're separating the eggs. Think of a narrative for this cake."

For now, I wanted to share a fairly major project in which Allen’s considerable handyman skills were completely crucial – I could never have done this on my own. We have a small kitchen, and we use it pretty efficiently. We utilize a lot of specialized storage devices, like spice jar holders that mount to the inside of cabinet doors, and a magnetic knife rack that I jerry-rigged with metal rulers and super-strong magnets. But Allen’s parents gave me a pasta maker for Christmas, and it’s the first item that, truly, no amount of kitchen reorganization would accommodate. It was re-do the kitchen, or move. Of course, neither of those is truly an option right now. But I had an “Aha” moment over this pin on Pinterest, and it blew my mind that I’d never thought of moving our existing cabinets up to the ceiling and putting open shelves below.

Saturday, March 9, 2013

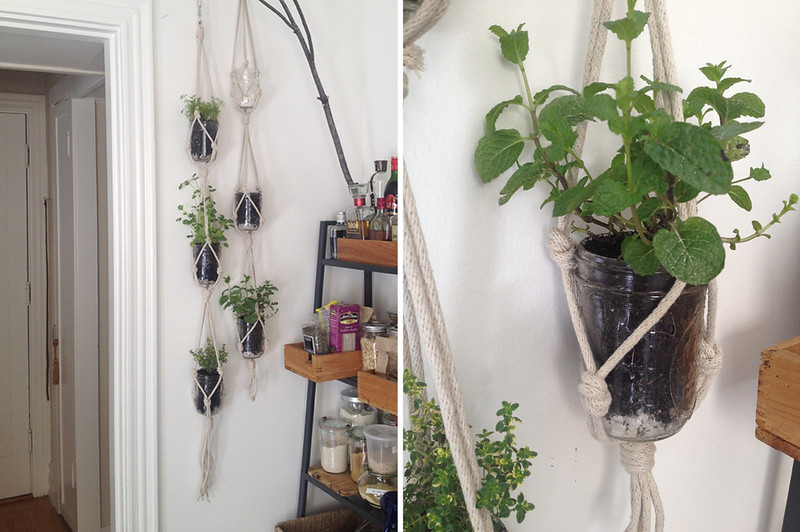
Hanging Herb Garden

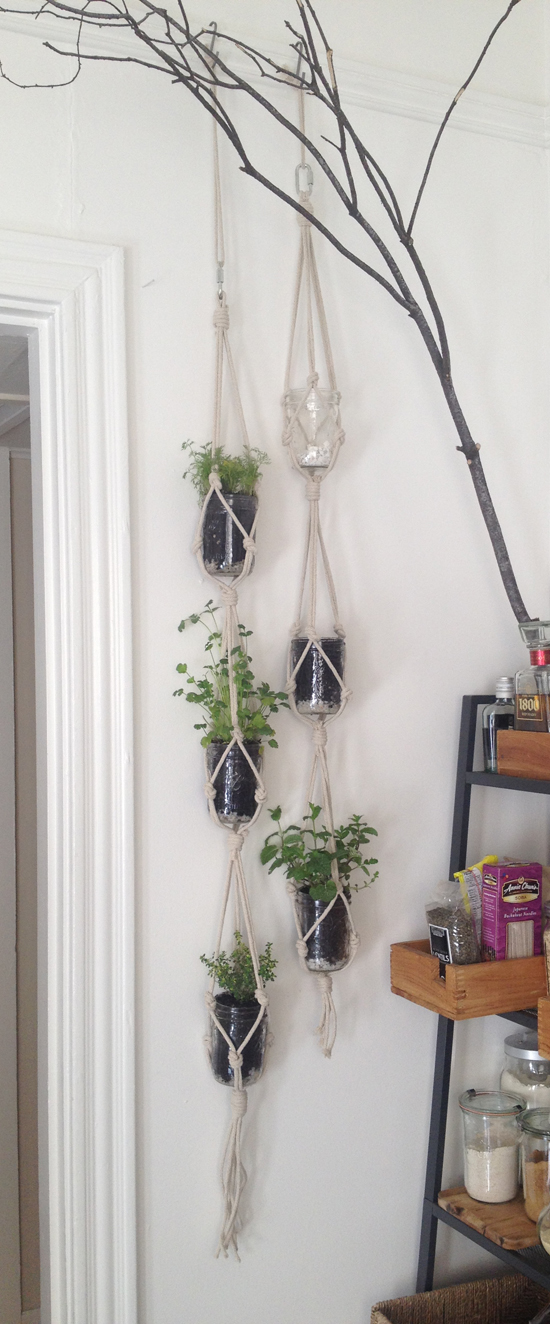
Last weekend I made this hanging herb garden, a great solution for my tiny kitchen which has, oh, about 24" of counter space. At first I'd planned on mounting mason jars to a board which would lean against the wall but on my way to the hardware store it occurred to me to do it this way, which involves less infrastructure and is probably a little easier.

HANGERS

To make the two shown here, you'll need:


I find it helps to do make these while the rope hangs. Hang it from a back-of-the-door coat hook, or nail a small nail somewhere about 7' off the ground.

For each 3-plant hanger, you'll cut 3 pieces of cord 14' long and 4 pieces about 15" long (for your stop knots).
  1. Line up the ends of your long cords and fold in half. You should now have 6 lengths of 7' cord. 
  2. About an 1.5" from the bend in your cord, create your first stop knot. Mine had about 4-5 loops.
  3. 10" from your top stop knot, take two neighbor cords and tie a basic knot. Repeat for each pair.
  4. 4" down from the last knot, tie a basic knot between one strand of two neighboring knots. Be sure to be joining two cords that are already close - do not cross over a cord to tie to another cord. See the diagram and photo. Repeat for each pair.
  5. 4" down from the last row of knots create another stop knot.
Repeat steps 3-5 twice more to complete one hanger. Repeat all the steps to create your second hanger.

PLANTS 

I used mason jars. I've had some hearty herbs in lesser containers so I'm hoping they'll work. I put small rocks at the bottom of each jar, transfered the herbs, adding potting soil when necessary. The nursery didn't have basil starters yet so I'm growing them from seeds. Fingers crossed!

notes

You'll see that mine are different lengths, I started the first hanger with less cord than I needed and adjusted for the second one.

I have no idea what I'm doing with that branch.

How have you grown herbs in your home? Any other small space solutions? Have you done more adventurous macramé?

As it's now been weeks between when I did this and when I'm posting this entry, I'd definitely say put your plants in things meant for plants, not mason jars. What was I thinking?


Tuesday, January 22, 2013

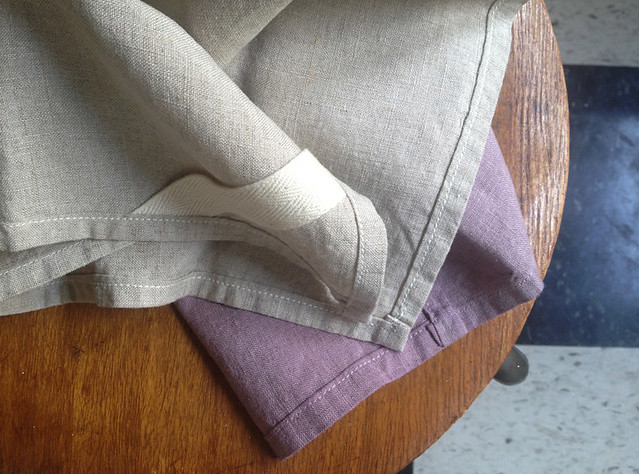
Naturally Dyed Tea Towels

For Christmas I made a small batch of tea towels to give to friends and family. And since I'd had in my mind for a while to experiment with dying, I decided to experiment on friends and family.

After the jump you'll find the basic steps for creating a tea towel and what I did to create a gradient on the towels from blueberries and blackberries.


Sunday, November 25, 2012

Hello, again


You might have noticed recently a new post after a long, long while. My Code for America fellowship has just ended and I made a b-line back to making things. This year has been a whirlwind filled with lots of new friends, experiences, 22+ flights and lots of non-sewing projects.

Elizabeth is taking a break but I'm hoping I can start to get regular-ish again. I can't say how regular, my life could get crazy again (what and where will after CfA be?). But this site is important to me. I believe the best thing about the internet is sharing. If I'm able to share anything helpful, at any frequency, I want to. Also, now that I'm so front-end web development happy these days (and even blog about it now, too), the entire site might just get a big facelift.

But in other, seasonal news, I'm happy that my year has slowed down in time to get excited about the holidays. My boyfriend and I picked up this little tree (above) today (one of our favorite coffee shops in Oakland, Subrosa, is selling them) and I have all kinds of old-fashioned Christmas visions in my head. Handmade paper ornaments, popcorn garland...

Hope the holidays have kicked of great for you and thanks for sticking around!

Monday, November 19, 2012

Tote Re-Do


I once had a great, large tote. I used it often. After a while grime and grease from toting leftovers rendered the tote too gross to use (despite attempts to launder of course). I finally parted with the bag but I saved the hardware (handles, shoulder strap, d-rings) with the intention of re-creating it. A year or so later and 2 days before leaving for a trip to Argentina I decided, now is the time!

After the jump, illustrations and walk-through galore!