


Instructions after the jump!
Materials
- 2 square pieces of fabric*, one interior and one exterior
- 1 zipper at least 2 inches longer than one side of fabric
- 2 1.5" pieces of gross grain or twill ribbon
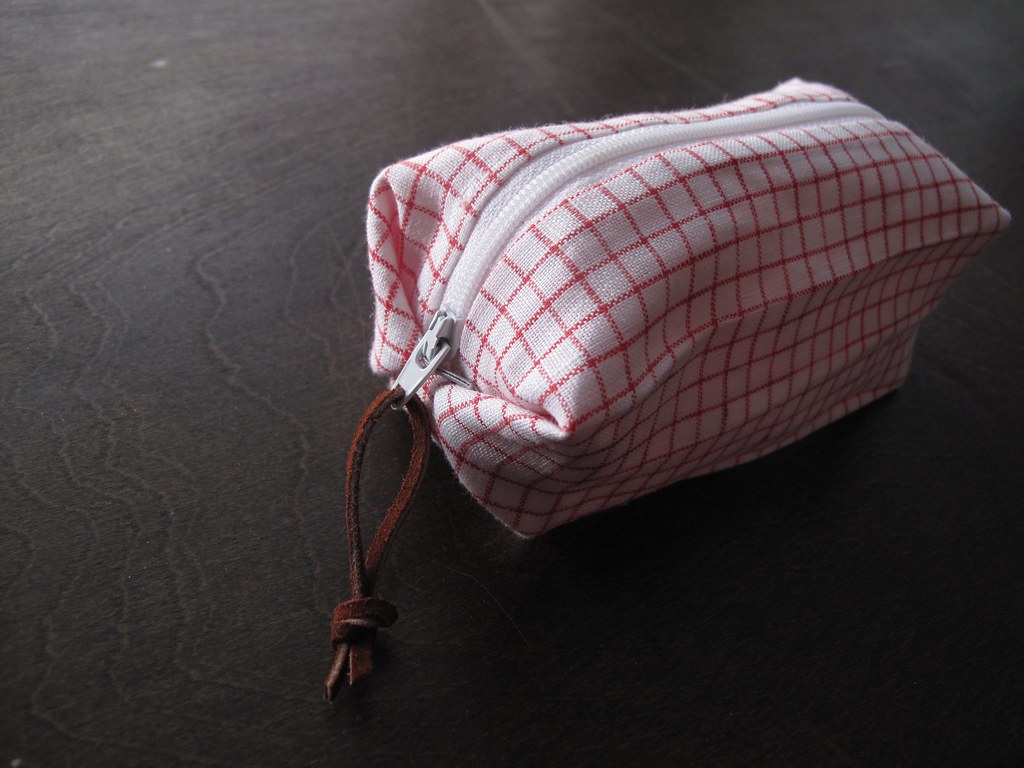
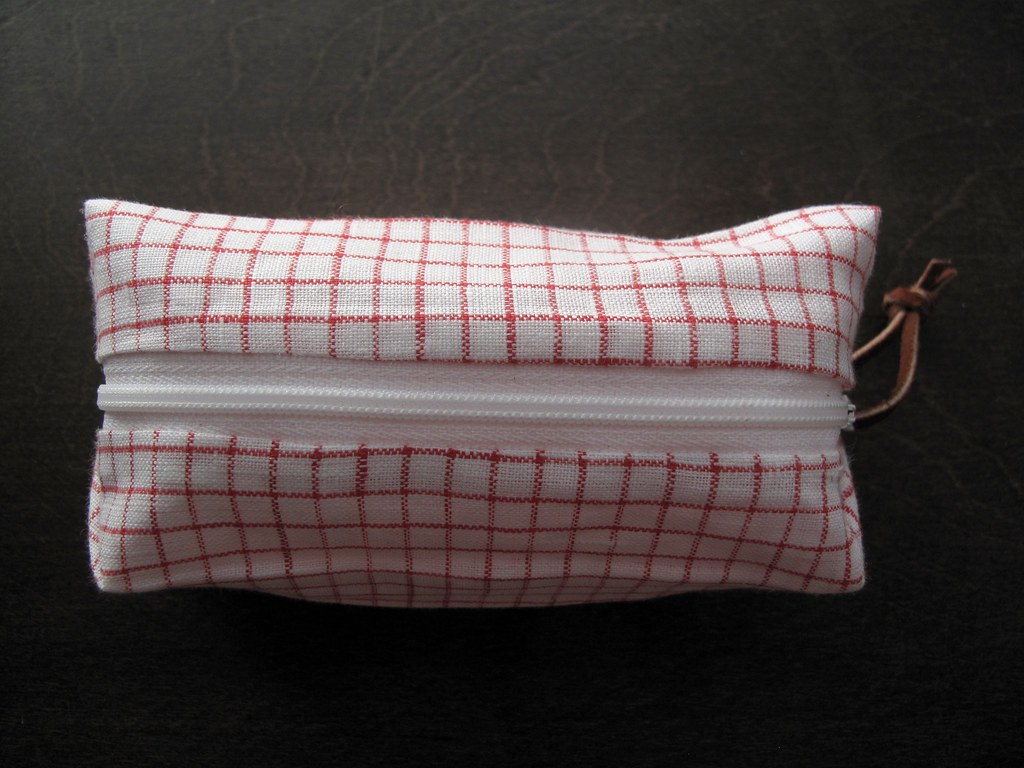
* A square of 8"x8" is about as small as you'll want to go. It will make the one I have made in my photos, which finishes to about 5.5" in length -- about as short as you can get and still hold pencils.
* If you double the length of each fabric, say each being 8"x16", you'll end up with a square pouch, also neat! Play with the proportions for an awesome toiletries travel bag!

Attach the zipper
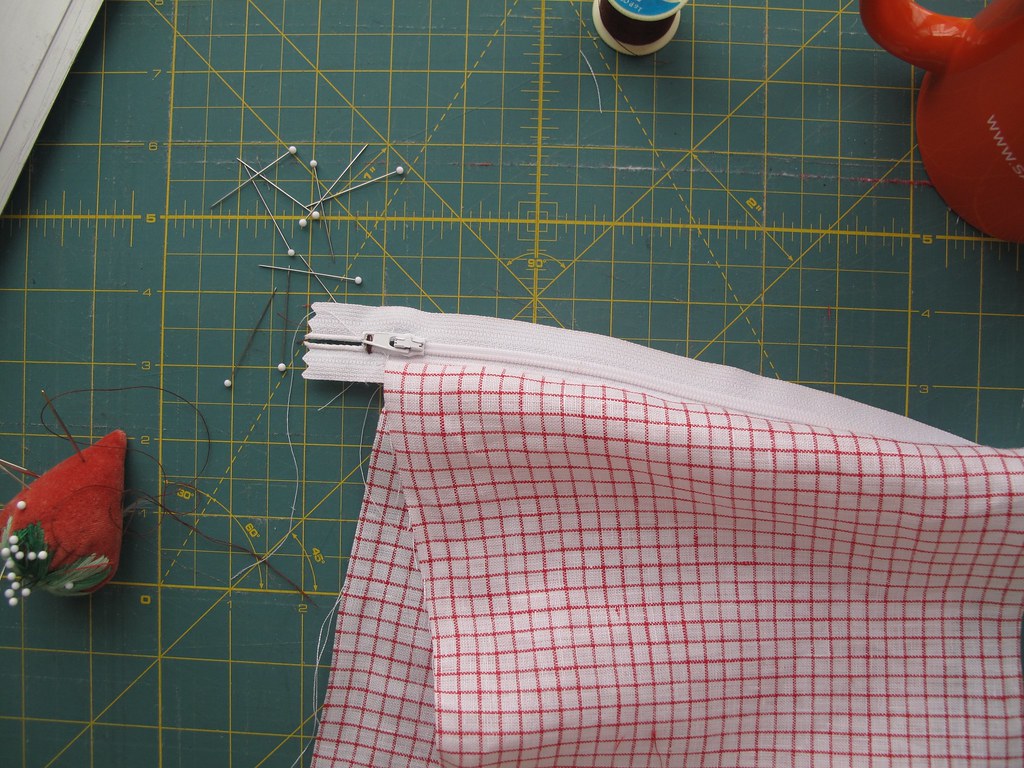
With fabric right sides facing and the right side of the zipper facing the right-side of your exterior fabric (if you use fabric with no front or back for both the interior and exterior, this is super easy!), attach your zipper with the zipper foot of your sewing machine. Then do the same on the other side of the zipper table (image below).
Having a zipper much longer than your fabric makes sewing zippers on so much easier because you can move the zipper pull completely off to the end that's not getting fabric attached to it.
Center
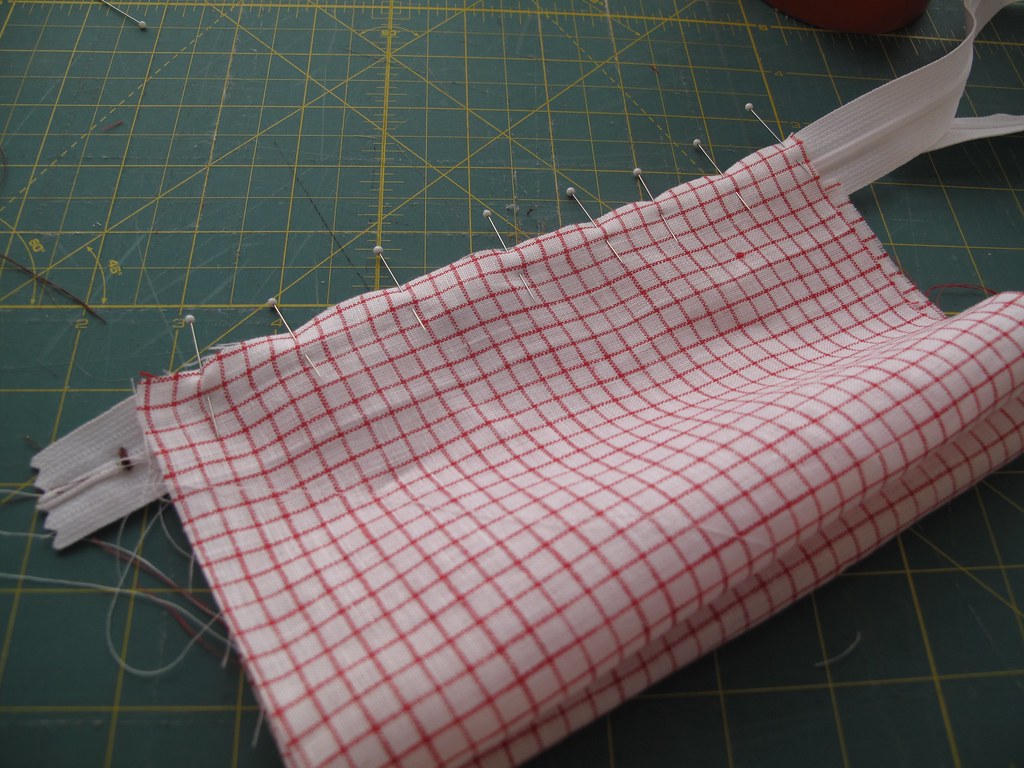
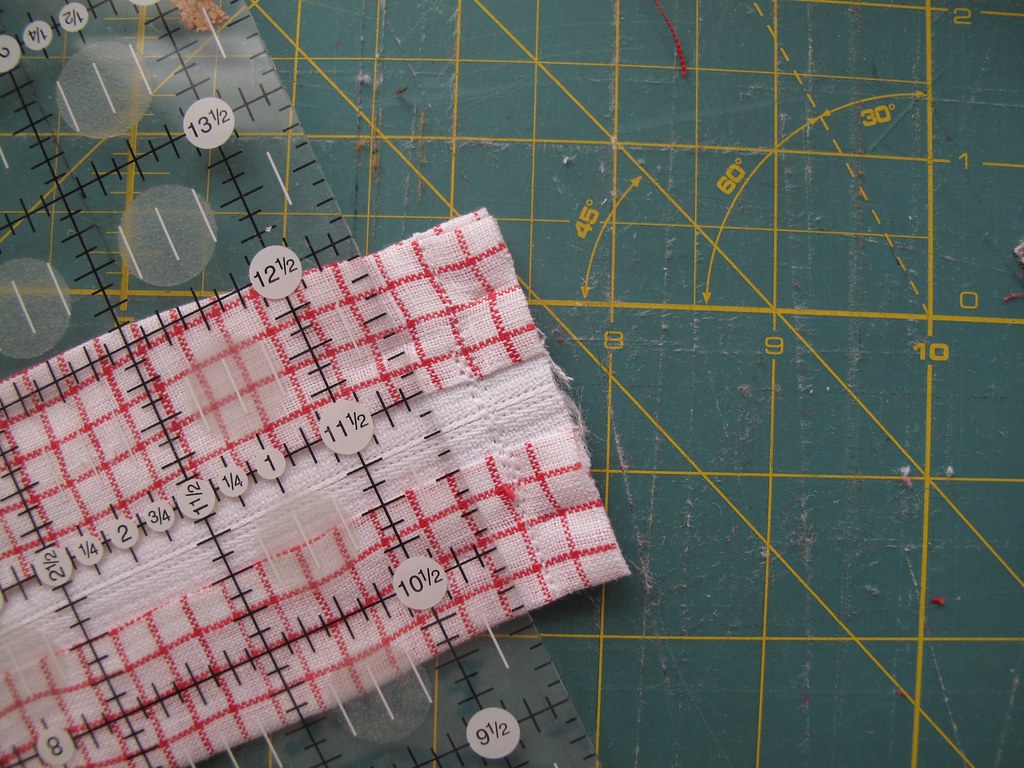
Now you'll have an open tube with a zipper. Turn the tube inside out. You want to flatten the tube so that the zipper is in the middle. I usually use my cutting mat to help gauge that there are equal amounts on both sides of the zipper.

Center
Now you'll have an open tube with a zipper. Turn the tube inside out. You want to flatten the tube so that the zipper is in the middle. I usually use my cutting mat to help gauge that there are equal amounts on both sides of the zipper.
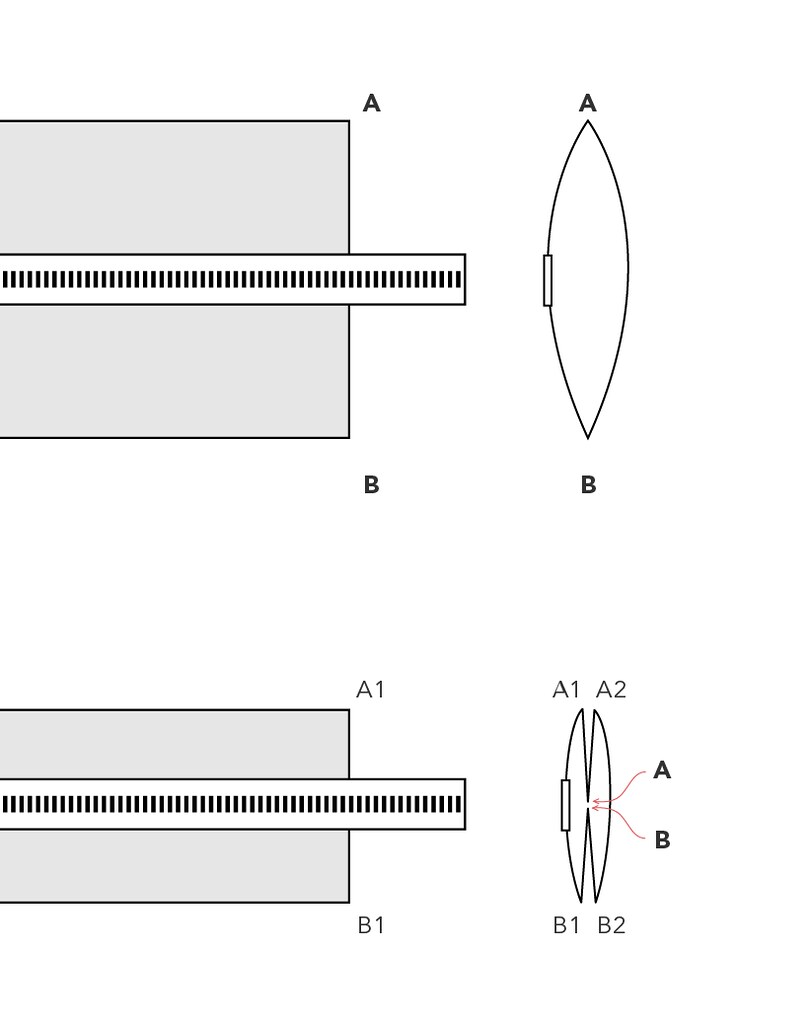
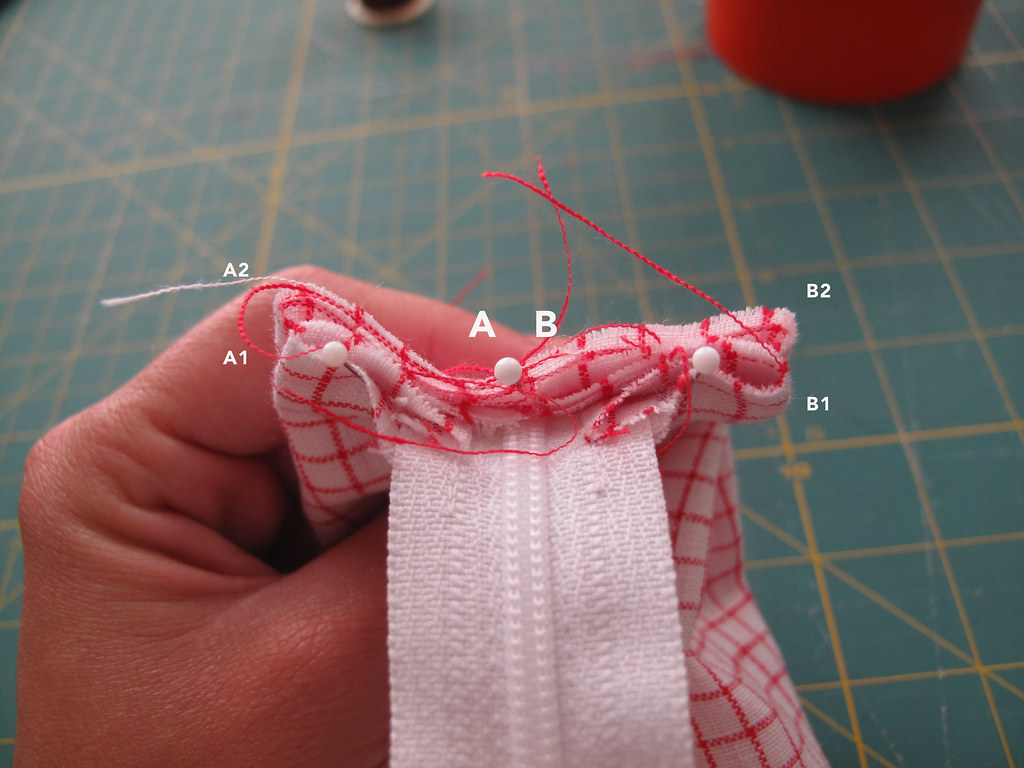
Now you'll take the edge of the fabrics, in the diagram below, corners A and B, and push them into the center, under the zipper, until A and B meet each other. Then press with an iron and pin together.


 Close Ends
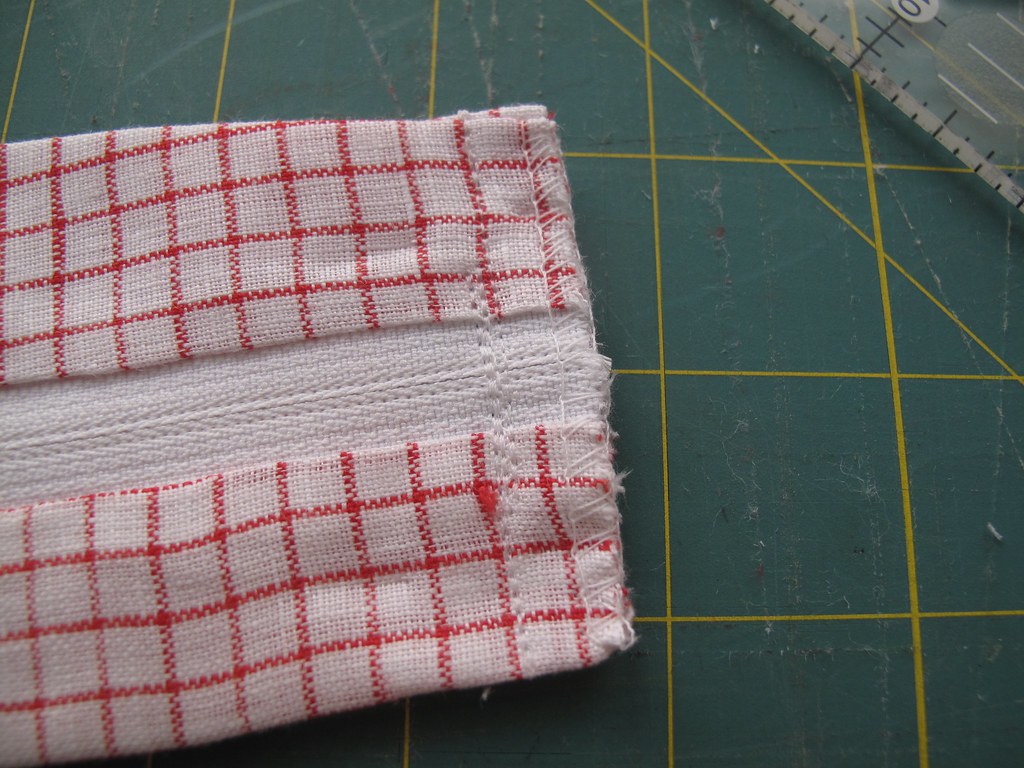
Now you'll stitch up the ends. Stitch a generous 1/4" from the raw edge (make sure that your zipper pull is within the fabric space and not off to one of the sides!), stitching over the zipper a few times. Then trim off the excess. You can then serge the edge, apply binding, zig zag stitch it or leave it.
 Finally, turn it right side out and you're done!

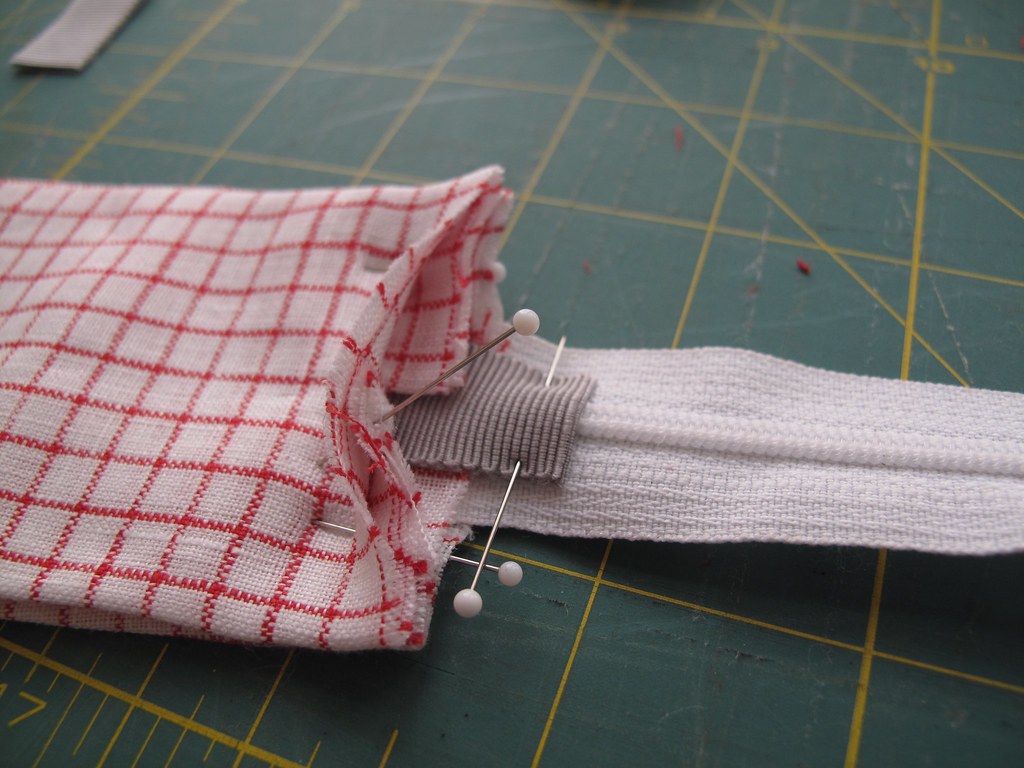
Next, take your small strips of ribbon, fold in half and press. Place each of them in the ends of your project, between the zipper and the points A and B.
Now you'll stitch up the ends. Stitch a generous 1/4" from the raw edge (make sure that your zipper pull is within the fabric space and not off to one of the sides!), stitching over the zipper a few times. Then trim off the excess. You can then serge the edge, apply binding, zig zag stitch it or leave it.


Great tutorial and great blog too. I love this case it's so cute.
ReplyDeleteGratings from Bulgaria :-)